How to Create a Plan in Office 365 Planner
Microsoft has just released the new Office 365 Planner. This is a fantastic new tool for task management which transformed the way we manage teamwork at Bonzai Intranet.
Here is how to create a new Plan in Office 365 Planner.
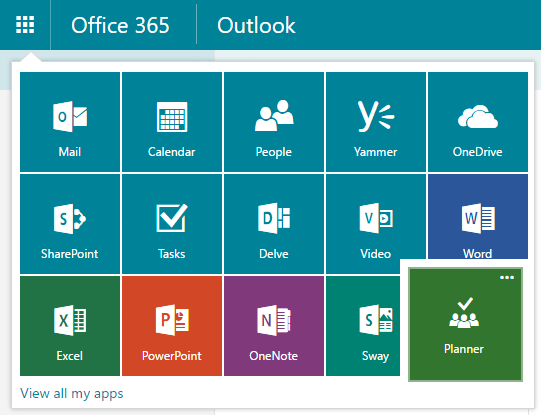
1. Navigate to Planner from your App Launcher.
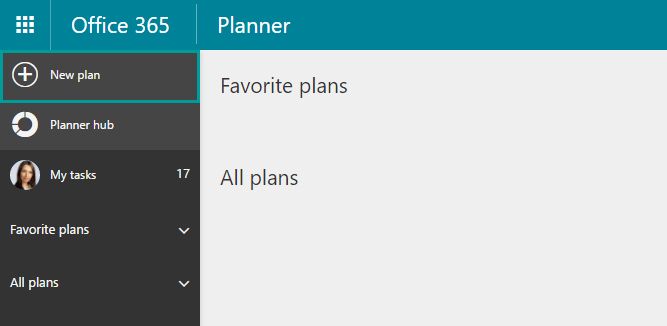
2. Select New Plan from the Left Navigation pane. This will automatically create a new Office 365 Group.
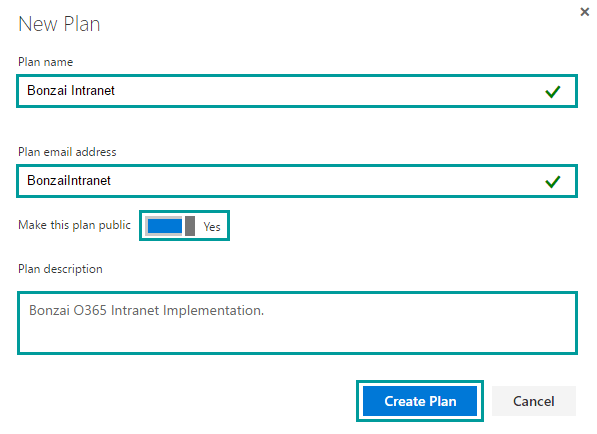
3. Set the properties for your new plan:
Watch the Webinar Recording | Office 365 Best Practices for Team Success
Create a Name for your plan.
Group Admins are able to modify the Name of an existing Plan but this change only applies to Planner and not the rest of the Group Apps.
Plan email address will automatically appear.
You can modify it at this point. This will create a new inbox for your O365 Group and a distribution list with all of the Group members. You will not be able to modify the email address once the Plan is created.
Specify if you would like this plan to be Public (visible to everyone in your organization) or Private (visible only to Group members).
Public plans appear in search results for everyone in your organization and are open for users to join. Private plans are not visible to those outside of the Group and users may only join by invitation. The privacy setting can be modified at Group level after the Plan is created.
Add a description for your plan to help users identify its purpose.
4. Click on Create Plan.

Your new Plan is ready!

It’s Time To Transform
Let us show you how much easier your work life can be with Bonzai Intranet on your team.